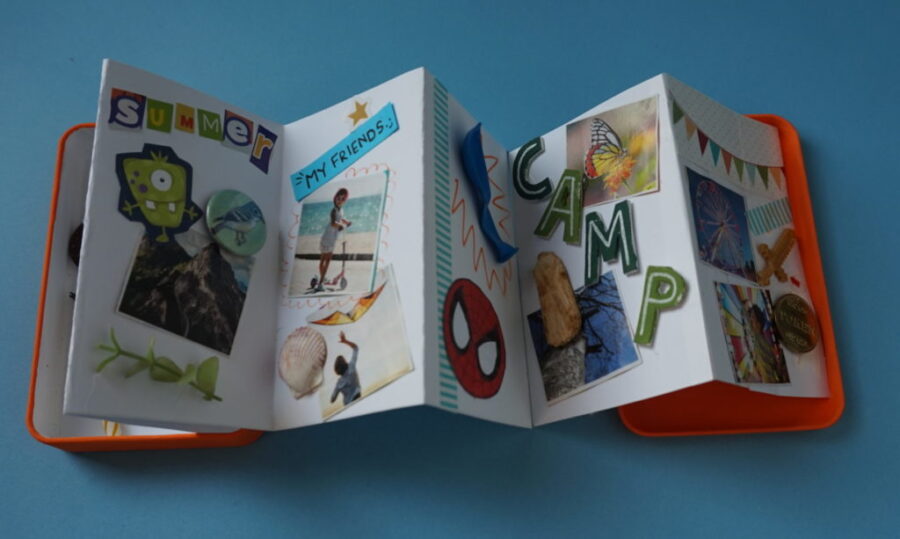
DIY Concertina Memory Box Creation!
Hey there! It’s Rachel, the Craft Maestro!
If you’re curious about crafting your very own memory box, let me introduce you to the exciting world of concertina-style memory boxes! It’s like presenting someone with a jack-in-the-box of heartwarming memories!
Why a Concertina Memory Box?
Because it’s a compact mini scrapbook that can be tailored for any event. Its design lets you decide the number of pages. No matter the content, it promises an awesome surprise for the receiver.
Preparation Steps:
Get ready, because this is where the magic happens! Before jumping in, remember to envision the memories you want to include. For a significant other, think about cherished moments together. For a kiddo, gather their favorite items or snaps of loved ones. Also, this could be a beautiful project for youngsters to create for their grandparents. ❤️
What You’ll Need:
- Small cardboard box
- Papers for both the box’s exterior and interior
- Contrasting colored paper for additional flair
- Cardstock for the pages
- Pencil, Glue Stick, Craft Knife, and Cutting Mat
- Embellishments of your choice
- Photos to personalize
- Sticky Pads
- Materials for the handle (like a ribbon or wire)
Let’s Craft This Memory Box!
Begin by sketching the base of your box onto your chosen paper, adding flaps twice its depth on all sides. Diagonally trim the flap corners and lightly score to fold. Securely position the box on the paper’s base, fold the flaps, tuck the corners, and glue. Repeat this process for the lid.
Use the contrasting paper to line the inside of the box, ensuring it stretches over the base and up both sides. Follow the same process for the lid. For the concertina pages, cut the cardstock into strips, ensuring they fit inside the box. Decide the number of pages and fold the strips in a concertina fashion. Remember, kiddos might need a hand here!
Always test your concertina to ensure it snugly fits inside the box, with room for decorations. The fun part? Decorate every page with photos, quotes, or whatever your heart desires. Keep the first page free as it’ll be attached to the lid. Embellish the lid’s top and choose where to place your ribbon or handle. The world’s your oyster, so let your creativity run wild!
Voilà, Your Concertina Memory Box!
| Key Components | Details |
|---|---|
| Box Style | Concertina |
| Materials | Cardboard, Paper, Cardstock, Embellishments |
| Key Steps | Plan, Cut, Fold, Decorate |
| Tip | Always test concertina size before finalizing |
Looking for More Crafting Inspiration?
Why not explore some of these:
- Sticker-based Scrapbooking: A nifty shortcut to awesome pages.
- Organizing Craft Supplies: Avoid the clutter chaos with handy organizing tips.
- Family Scrapbooking: An engaging way for families to bond while creating.

